The process is the same every time: You get a new project so you start by downloading the latest WordPress version and go through the steps of installing and activating plugins. But there are three solutions that can help you begin from a better starting point than the simple WordPress installation.
What is a WordPress starter package
Once you have installed WordPress on your server, you should have a clean backend to work with. You can start by installing your theme or your plugins. Most themes will give you the option to import demo settings and suggest some plugins that are necessary.
Even then, you’d have to install your favorite/basic plugins. It would be ideal to skip all these steps and start working on other things instead.
I suggest using the above three solutions I already use and I am satisfied with it. Not all at once but according to the situation, the solution that suits best.
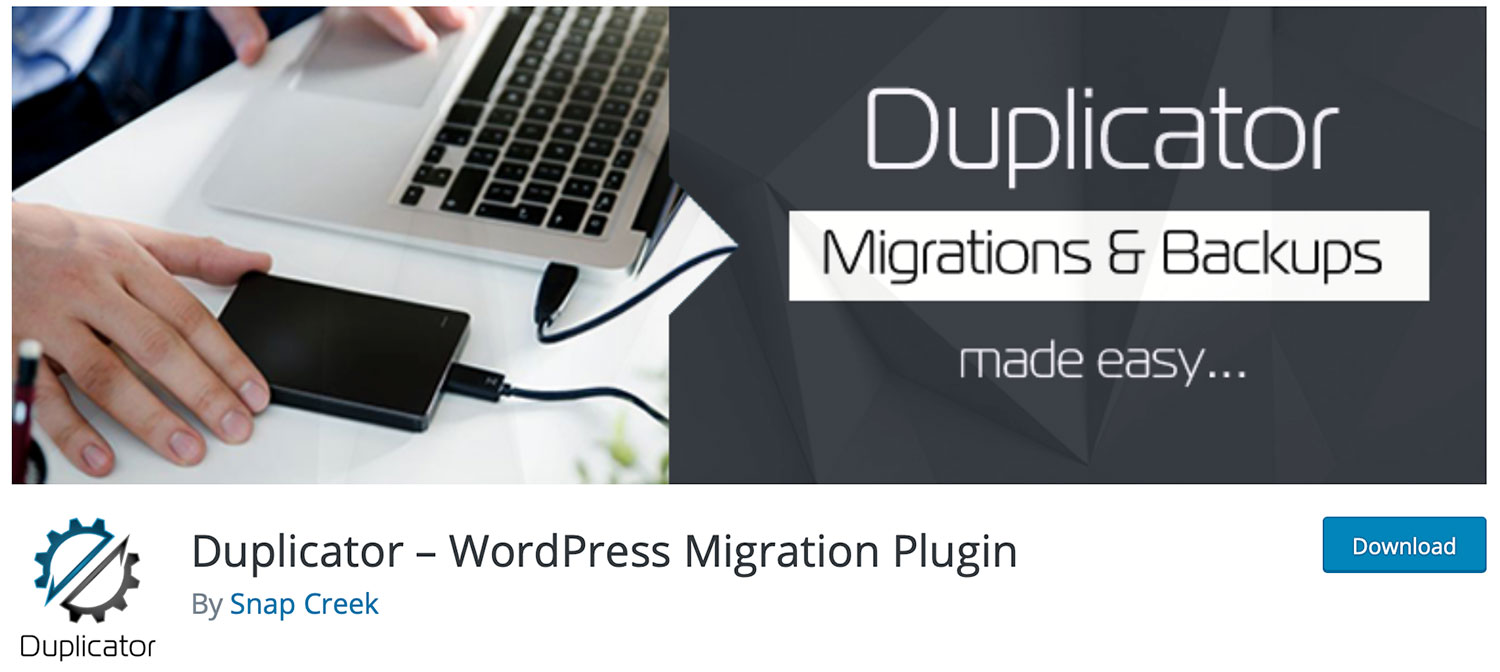
1. Create a WordPress starter pack using Duplicator
What if instead of installing a fresh version of WordPress, you have your own version that has all of your configurations set and your plugins installed?
You ‘ll need to prepare your own unique version to accomplish this and save it for later use.
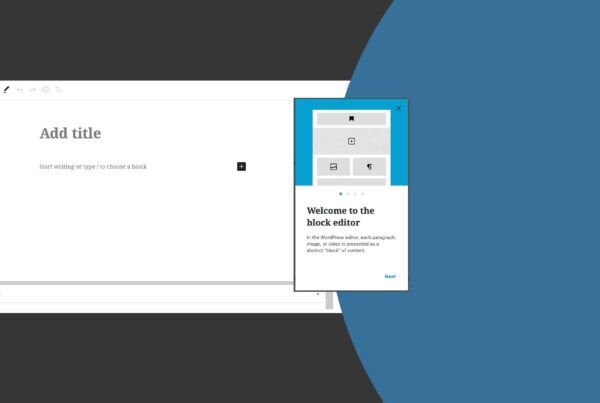
Begin with downloading the latest WordPress version from wordpress.org. Upload it to your server (live or local) and run the installation.
Continue adding your favorite plugin through the backend. Activate them and configure the settings that you prefer.
Check the settings tab in your backend like time format, discussion settings, permalinks, etc.
Install and activate the Duplicator plugin if you haven’t already.
Go to Packages and Create a new package. Follow the steps and you will come up with two files: a zip file that has your files and database and a .php installer file.
Download both and from now on every time you have a new project you install these files instead of the WordPress zip.
As time goes by, your package will be obsolete but you can still upgrade the WordPress version and the plugins after the installation.
2. Use WP Core for plugins
 Some times you may not have access to a cpanel of a server and you have been given a clean WordPress installation to start.
Of course, you’ll have to configure your ideal settings from scratch but when it comes to install your favorite plugins there is an alternative shortcut.
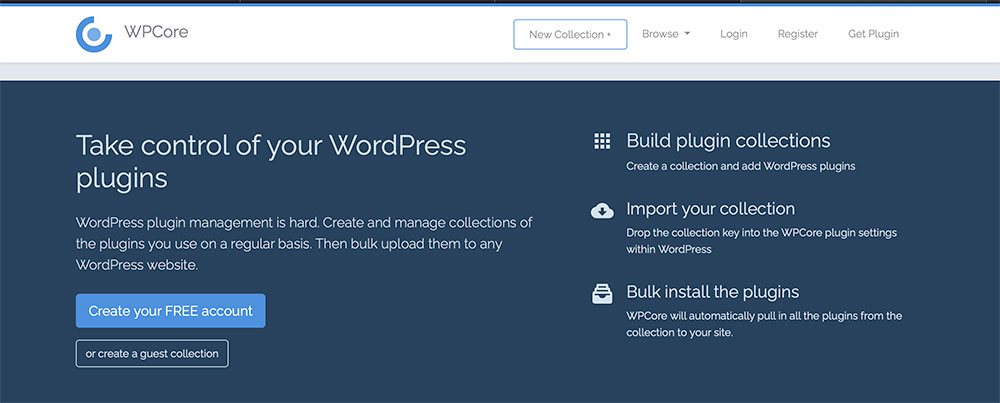
The name is WP Core plugin Manager and it is the only plugin you will have to install.
To begin with, you visit their website www.wpcore.com and create an account. I suggest adding this URL in your bookmarks.
Start building your first collection of favorite plugins by pressing the New Collection button. Once completed, save your collection and a key will be generated. Copy the key.
You can have up to 2 collections for free. Paid subscriptions let you add your own custom plugins.
Then you can go back to your WordPress backend and install the WP Core plugin. Activate it and visit the settings tab. There you should paste the key of your collection and hit the save button.
The plugin will run a check of your key and fetch your list. It may take a while, depending on the number of the items inside it.
After this, you will be given the option to install all the plugins at once.
You can even export your installed plugins to a new collection if you have empty slots on your wp core account.
3. Create your own Combined Plugin
 Every WordPress plugin includes a license (usually GPL 2.0) that gives you the right to read and write inside the code. This means that you can change some elements and reproduce your version of the same plugin.
If a plugin is simple coded, like Hello Dolly, you can easily make amendments to your custom needs.
For more complex plugins you will need extra skills and to be more careful.
Plugins usually have one file .php and maybe some assets. The way to install our favorite plugins with a minimum effort, is to combine them in one plugin.
To do this, you’ll have to download them first in your computer from wordpress.org.
Then you create a folder “combined” and start inserting the contents of every plugin inside. Be aware that maybe there will be files with the same name (style.css). In this case, you will have to combine that two CSS to one, simply by copy and paste the code from one to another, or rename one folder to style2.css. Don’t forget to change the script that calls the CSS in the main .php file of the plugin.
After doing all the above, you will now have a folder with more than one .php files. You’ll have to create one main .php file that calls all the others.
In your favorite text editor, create a new file and name it combine.php
Add the following lines inside:
<?php/*** Plugin Name: TheNameYouWishToCallYourPlugin* Description: My combine plugin saves me a lot of time* Version: 1.1.0* Author: YourName* Author URI: YourWebsite* License: GPL-2.0+* License URI: http://www.gnu.org/licenses/gpl-2.0.txt*/
These are the info that WordPress shows you when you visit your backend plugins page.
And now you will have to call the plugins one by one.
Add the following line for every plugin you want to add
include dirname(__FILE__) . ‘/thefirstplugin.php’;include dirname(__FILE__) . ‘/thesecondplugin.php’;
You won’t need to add anything else.
The next step will be to compress your plugin and upload it through the WordPress plugin page like every other plugin.
Activate it and you will notice the information you previously wrote at the beginning of your file.
After completing your plugin, you can see how easy it is to have 10s of favorite plugins installed at once.
The minor issue with this solution of adding plugins is that you will have to upgrade them by yourself inside your code. And this is why I categorized it in third place.
I have created my combined plugin with only 5 plugins that I update once in two or three months. This is not a lot of work because there are only 17 files and I got used to this habit.
Conclusion
These are my suggestions for starting your project from a better starting point.
My favorite way is using the duplicator, but I’m not be given access to a Cpanel always, so I improvise by using the two other techniques.
The duplicator package I’ve created has also my settings that are many. Settings in WordPress, backend colors and logo of my company, my favorite plugins with their configurations completed, my functions set, and many others.
When I have to work in a new WordPress installation that I’m not going to have the administration after the completion of the project,I use the WP Core Manager as it lets me or the next administrator to upgrade the plugins from the backend easily.
When I know that I’m going to keep the administration, I upload my combined plugin because I can add my own plugins as well, something that I could do with WP Core in a paid version of their platform.
I hope you liked and adopt one or more of my techniques, making your work as easier as you want it to be!